


Mercedes wireless charging systems, integrated into vehicle flooring or trunks, power phones and tablets wirelessly. Repairs, especially after trim panel removal, require understanding this setup. Skilled bodywork experts replace components carefully for seamless functionality. Trim panel disassembly involves using specific tools and documentation for reassembly. Reinstalling the charging pad within the vehicle needs precise alignment and secure attachment. Seek assistance from a qualified Mercedes repair service for optimal efficiency.
“Looking to fix your malfunctioning Mercedes wireless charging system? This comprehensive guide is your solution. We’ll walk you through the process of understanding, disassembling, and repairing your Mercedes’ wireless charging pad after trim panel removal.
Learn how to navigate the intricate steps of removing trim panels, a crucial step in accessing and fixing the wireless charging mechanism. By the end, you’ll be equipped with the knowledge to successfully reinstall and optimize your vehicle’s wireless charging functionality.”
- Understanding Mercedes Wireless Charging System
- Removing Trim Panels: A Step-by-Step Guide
- Repairing and Reinstalling Wireless Charging Pad
Understanding Mercedes Wireless Charging System

Mercedes wireless charging systems have become a standard feature in many modern vehicles, offering a convenient and eco-friendly way to power up your devices on the go. At its core, this technology involves an inductive charging pad integrated into the vehicle’s flooring or trunk area, which wirelessly transfers energy to compatible phones or tablets placed atop it. This innovative system eliminates the need for messy cables and adapters, enhancing both aesthetics and functionality within the vehicle.
When addressing Mercedes wireless charging repair, especially after trim panel removal, understanding this intricate setup is crucial. If a dent or damage occurs near the charging pad location—which could be in the floor, door panels, or trunk lid—it may disrupt the system’s efficiency or even render it unusable. Vehicle bodywork experts skilled in Mercedes repairs can expertly handle these situations by carefully removing and replacing damaged components while ensuring proper alignment and functionality of the wireless charging system for a seamless user experience.
Removing Trim Panels: A Step-by-Step Guide

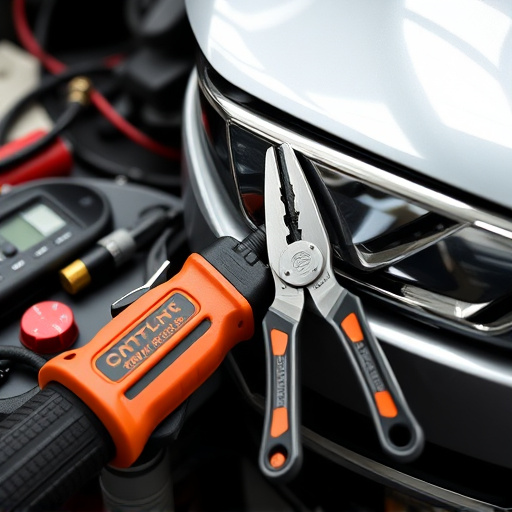
Removing trim panels is a common step in various vehicle repairs, including Mercedes wireless charging repairs. It requires precision and care to avoid damaging the surrounding components. Start by identifying the specific panel that covers the wireless charging system, usually located on the vehicle’s dashboard or door interior. Next, gather the necessary tools, such as a flat-head screwdriver, torque wrench, and plastic removal tools designed for automotive use.
With safety glasses on, carefully remove the trim panel by inserting the appropriate tool between the panel and the car body, working slowly to pry it up. Some panels may have clips or screws holding them in place, which should be removed with the correct screwdriver or tool. Keep track of where each component goes as you disassemble to ensure an easy reassembly during the vehicle body repair process. This step-by-step approach is crucial for successful Mercedes wireless charging repairs and maintaining the overall aesthetics of your auto maintenance project.
Repairing and Reinstalling Wireless Charging Pad

After successfully repairing the wireless charging coil and ensuring proper functionality, the next step is to reinstall the wireless charging pad within the Mercedes vehicle. This process involves careful navigation through the interior trim, ensuring all components are correctly aligned and secured. The pad should be firmly attached to its designated spot, typically under the center console or on the floor pan, depending on the Mercedes model.
During reinstallation, it’s crucial to double-check connections and alignment to avoid any future disruptions in wireless charging functionality. A vehicle body shop or fleet repair service with experience in Mercedes models can efficiently handle this process, ensuring the charging pad is correctly positioned for optimal charging efficiency without compromising other interior components or systems.
After carefully removing, repairing, and reinstalling the Mercedes wireless charging pad, you now possess the skills to tackle any minor issues that may arise. By understanding the system and following the step-by-step guide, you’ve mastered the art of Mercedes wireless charging repair. Remember, for more complex problems, seeking professional assistance is always recommended to ensure your vehicle’s safety and optimal performance.